Note:
- For this step you will need the original Z motor. It's the best to dismantle it now (Z-motor, leadscrew, motormount). The X axis is now no longer supported. Put something under the axis, on which you can lay it down.
- The transmission will be mounted to the frame in the last step.
- For Dual Z: Repeat these building steps for the second side with the mirrored parts.
- For Ultra Low: These instructions show the normal transmission part, but the assembly is the same for both versions.
1. 80T-Gear Assembly
a) Flange removal from the 20T pulley
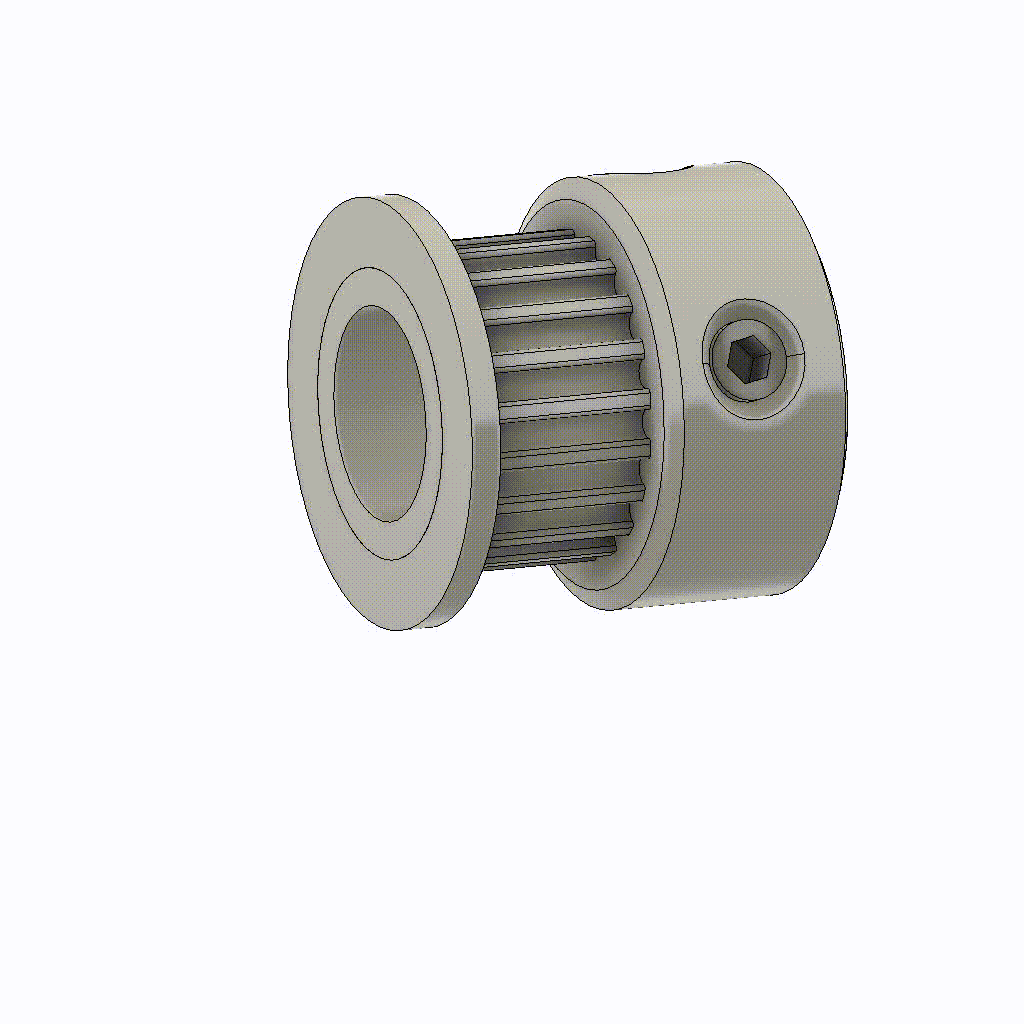
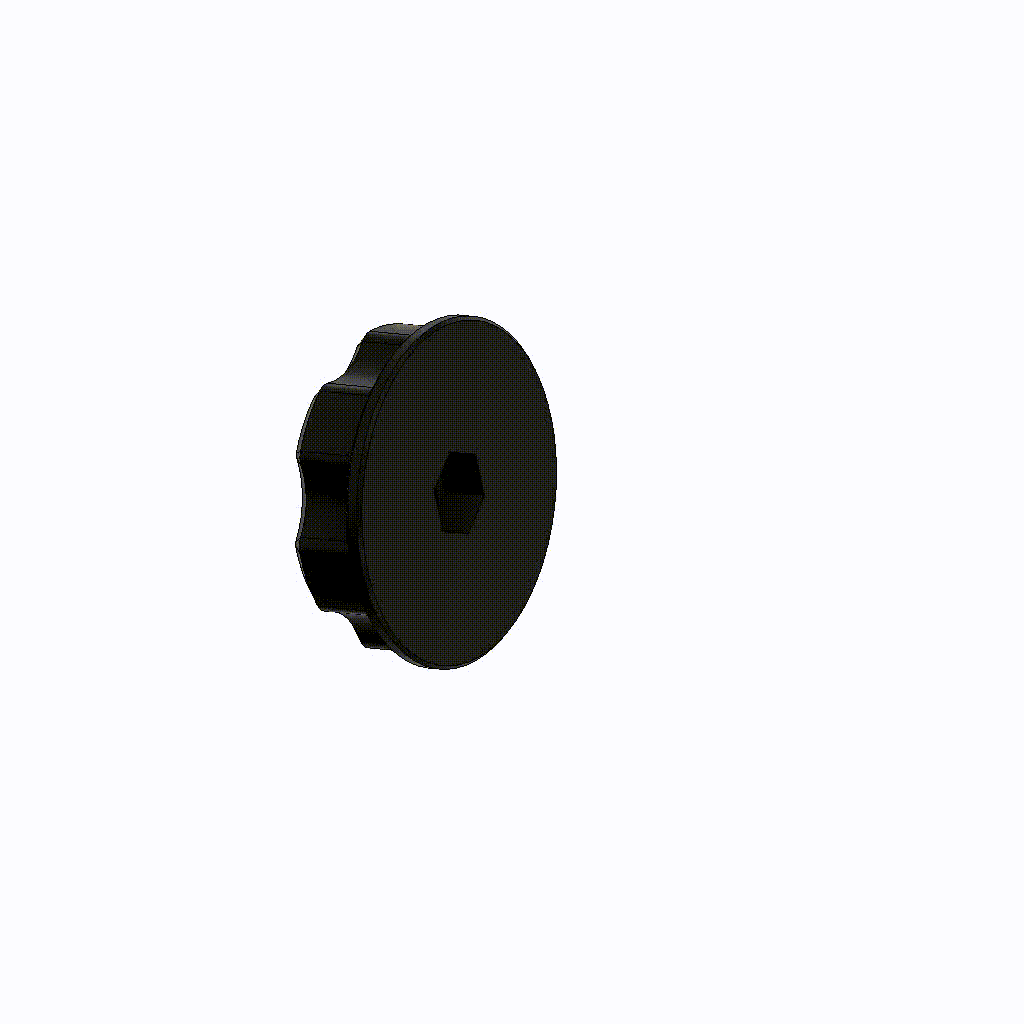
Take one of the 20T pulleys; you have to remove the flange. You can either print a tool or just use a pair of pliers to remove it (Quote billnye: Two on the lip and taco it). I did it this way and had no problems with that.
You can also use a bottle opener (any kind, like the one on a multitool or a proper bottle opener). This has the benefit of never having a chance of damaging the teeth, or the flange.
b) Gear Assembly
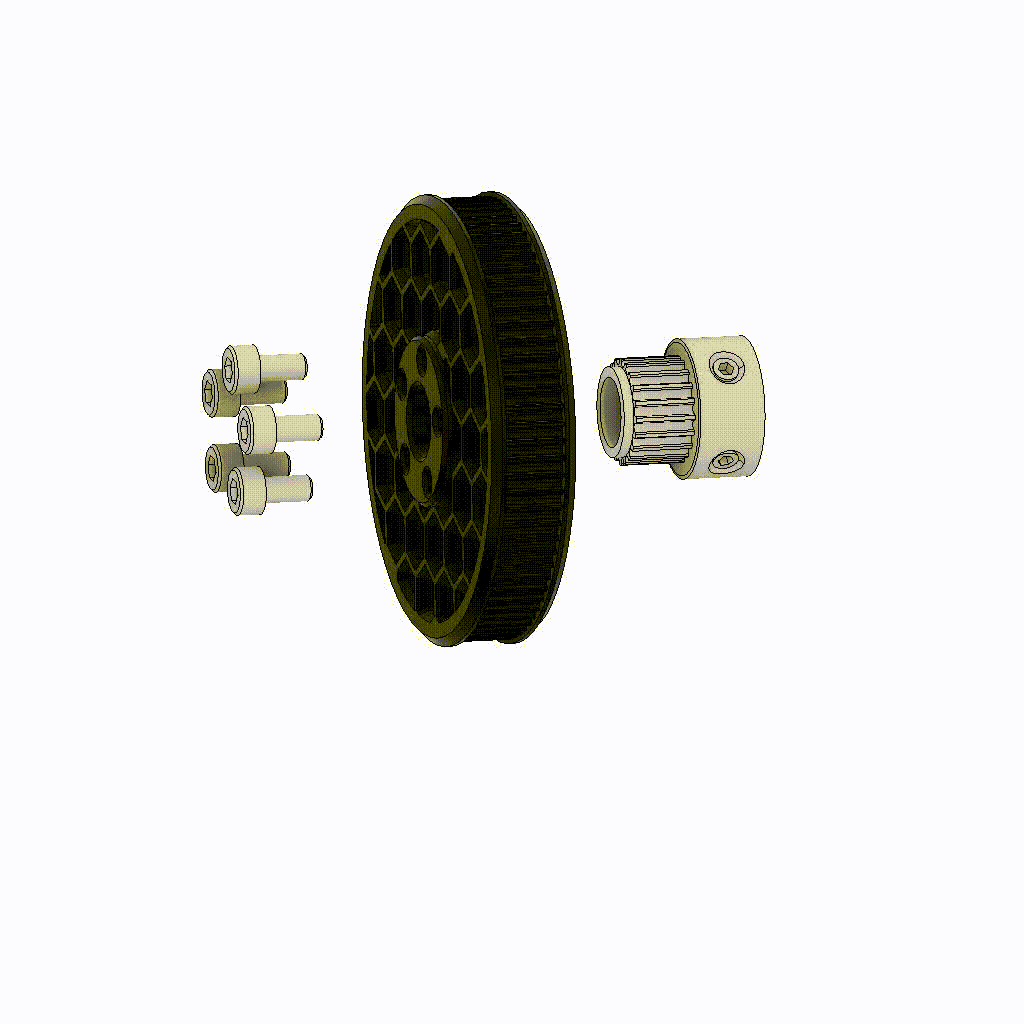
Take the printed gear (1_80TRingGear(Voron).stl) and insert the 20T pulley you just removed the flange from. Secure the assembly with 5 M3x6mm screws and tighten them crosswise. Make sure the hub from 20T pulley is flush with the printed gear.
Put the 80T gear aside for now, you will need it again later.
2. The Nema-17 Unit
a) Preparation of the tensioner arm
Take the printed tensioner arm (1_MotorMountTensionerArm_V3.6.stl) and insert two M3-nuts as shown. Also add a M5 nut to the part.
b) Marriage of the Nema and tensioner arm
Screw the prepared part to the Nema with 4 M3x8mm screws. Attention. The side with the M3-nuts faces the motor. Also attach the 16T pulley to the motor shaft. The position of the pulley is not important, we will adjust it later.
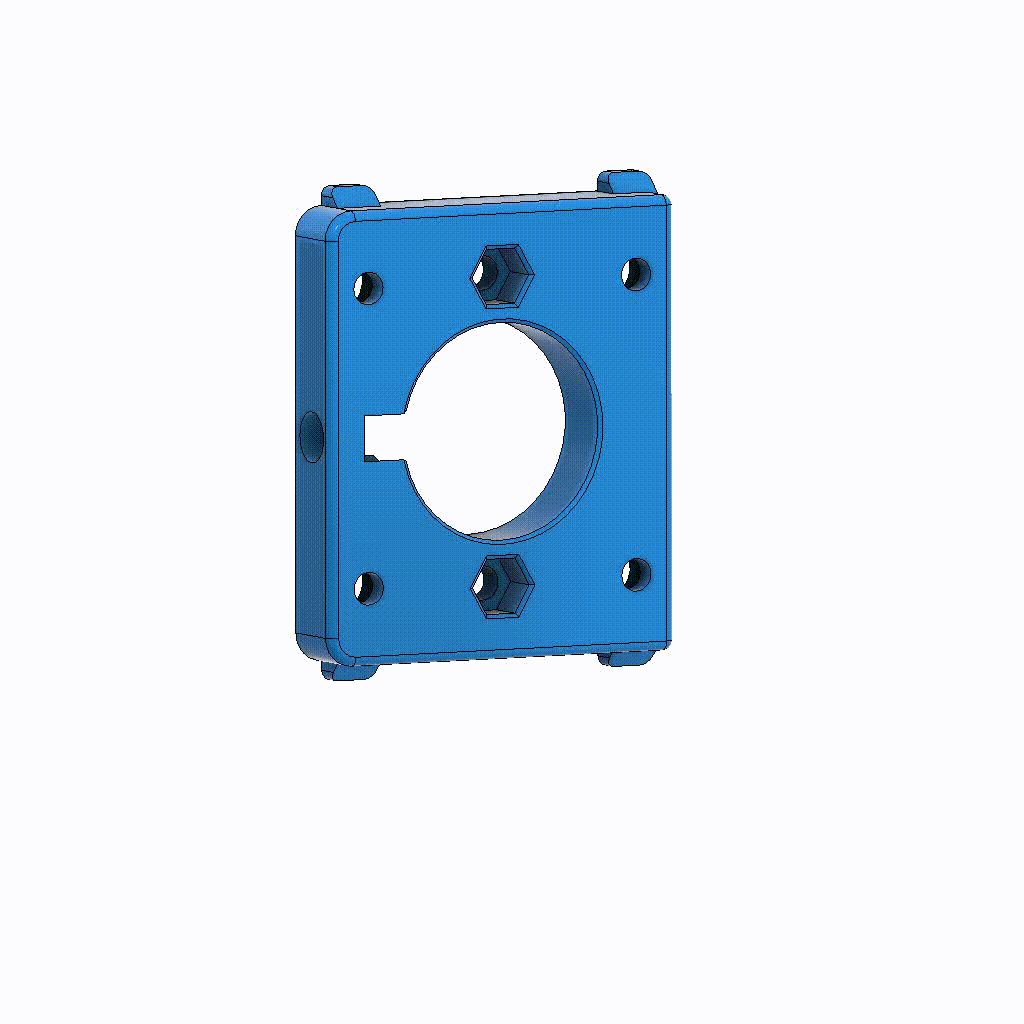
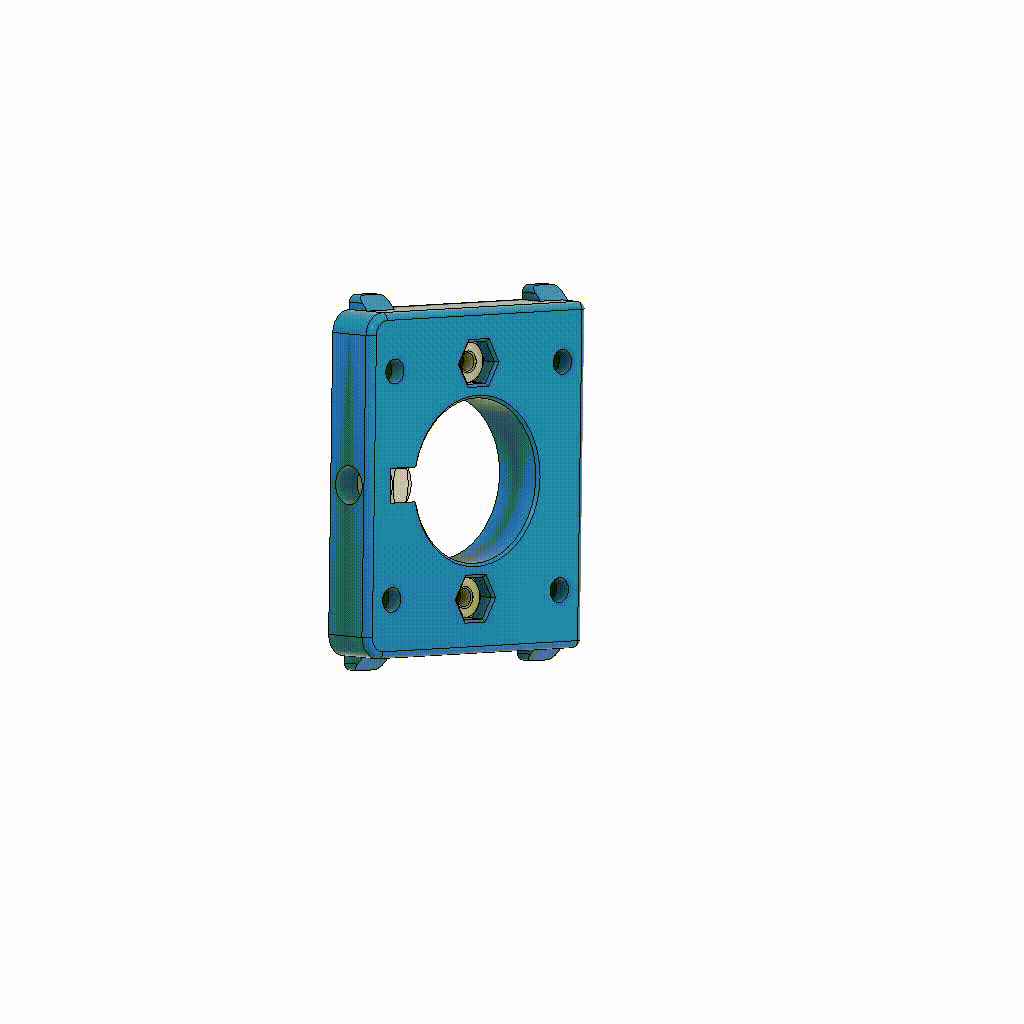
3. Transmission completion
a) Tensioner Ring Assembly
Insert a M5 Nut in the printed tensioner ring (1_TensionerRing_V3.6.stl) and secure it all the way with a M5x30mm screw.
ㅤ
c) Screw Installation
It’s a good idea to mount the screws now, otherwise the Nema 17 might be a bit in the way. You need five M5x8mm screws and five T-Nuts for this (Ultra Low needs one less each).
b) Transmission Bearing
Insert a 608 bearing into the transmission body (1_Transmission_V3.6.stl). It should fit snugly. Make sure the bearing slides straight in, otherwise it will be difficult to insert the bearing. (You should not need a tool for this).
d) Final Assembly
Finally, you just have to bring everything together. Attach the tensioner arm to the transmission body using two M3x10mm screws and washers. Do not tighten them yet! Also screw the tensioner ring loosely through the hole in the transmission body into the tensioner arm.
For Dual Z: Repeat these building steps for the second side with the mirrored parts.